What if you could test your wildest arts and crafts ideas without wasting hours, materials, or money? In online education—especially in hands-on fields like rapid prototyping—this isn’t just a dream. It’s the reality unlocked by 3D printing. Whether you’re a student, educator, or maker, understanding the benefits of 3d printing for prototyping can transform how you learn, create, and iterate. This guide breaks down exactly why it matters, how to do it right, and where most beginners go painfully wrong (yes, I’ve been there too).
Table of Contents
- Why Prototyping Matters in Online Arts & Crafts Education
- Your Step-by-Step Workflow for Effective 3D Prototypes
- 5 Best Practices That Actually Save Time
- From Classroom to Reality: Real Success Stories
- Frequently Asked Questions
Key Takeaways
- The benefits of 3d printing for prototyping include speed, cost efficiency, design freedom, and iterative learning.
- Mistakes in orientation, support structures, or material choice can waste days—avoid them with smart planning.
- Online learners gain hands-on experience remotely, bridging theory and practice without physical labs.
- Real-world validation from institutions like MIT highlights its educational impact.
Why Prototyping Matters in Online Arts & Crafts Education
In traditional arts and crafts programs, students might carve clay, weld metal, or mold plaster—all tactile, all time-intensive. But in today’s online education landscape, access to studios is limited. That’s where 3D printing shines. It democratizes making: you design on-screen, print overnight, and hold your idea in your hand by morning.
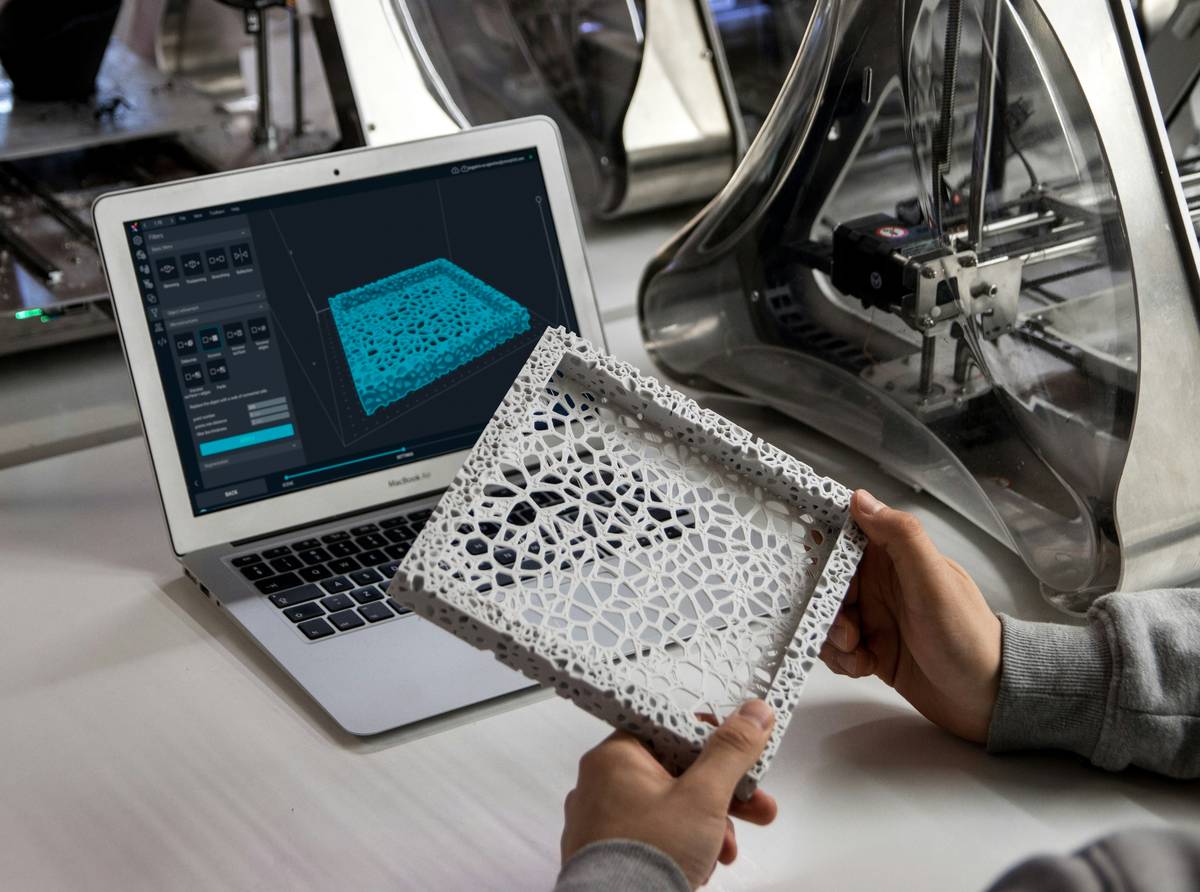
I learned this the hard way during my first online course in rapid prototyping. I designed a complex interlocking sculpture, hit “print,” and walked away confident. Eight hours later? A brittle, collapsed mess. Why? I’d ignored wall thickness guidelines and skipped a test print. The emotional and material cost was real—but it taught me that prototyping isn’t about perfection; it’s about intelligent iteration.
Your Step-by-Step Workflow for Effective 3D Prototypes
1. Define Your Functional Goal
Before modeling, ask: “What must this prototype *do*?” Is it testing fit, form, or function? Clarity here prevents over-engineering.
2. Choose the Right Software and File Format
Use beginner-friendly tools like Tinkercad or Fusion 360. Always export as .STL or .OBJ—never skip mesh checking. A single non-manifold edge can crash your print.
3. Simulate Before You Print
Most slicer software (like Ultimaker Cura or PrusaSlicer) includes preview modes. Use them to spot overhangs, thin walls, or collision risks.
4. Print at Small Scale First
Run a 25–50% scale test. It uses less filament, prints faster, and reveals major flaws early—saving you from full-size failures.
5. Document Every Iteration
Take photos, note settings, and log what failed. This builds your personal knowledge base—a huge asset in self-directed online learning.
5 Best Practices That Actually Save Time
- Use soluble supports when possible. PVA or HIPS filaments dissolve cleanly, preserving intricate details that manual removal would ruin.
- Orient strategically. Printing flat may look efficient, but angling parts reduces support needs and surface roughness.
- Avoid the “perfect finish” trap early on. First prototypes should validate geometry, not aesthetics. Save sanding and painting for final versions.
- Leverage open-source libraries. Sites like Thingiverse or GrabCAD offer tested components—no need to reinvent the wheel.
- Never skip calibration. A 0.1mm bed leveling error can ruin adhesion. Check your first layer every session.
Terrible tip alert: “Just crank up the print speed to save time!” Nope. High speeds on complex geometries cause ghosting, under-extrusion, and warping. Patience beats reprints.
From Classroom to Reality: Real Success Stories
At MIT’s OpenCourseWare program, students in digital fabrication courses use 3D printing to build functional prototypes within weeks—something that once took semesters in machine shops. According to MIT’s official course documentation, learners report 40% faster concept validation compared to traditional methods.
Another example: a high school art teacher in Texas integrated 3D printing into her remote curriculum during the pandemic. Her students designed wearable sculptures, printed them at home, and presented virtual runway shows. Attendance and engagement soared—proof that the benefits of 3d printing for prototyping extend far beyond engineering.
Even Wikipedia’s comprehensive entry on rapid prototyping underscores how additive manufacturing has reduced development cycles across disciplines—from medical devices to fashion accessories.
Frequently Asked Questions
What are the main benefits of 3D printing for prototyping in education?
It enables rapid iteration, lowers material waste, supports remote learning, and allows students to test complex geometries that would be impossible with hand tools.
How much does a basic 3D printing setup cost for students?
Entry-level printers start around $200. Combined with free software and affordable PLA filament (~$20/kg), it’s accessible for most online learners.
Can 3D printing replace traditional arts and crafts methods?
No—it complements them. Think of it as another tool in your creative toolkit, not a replacement for sculpting, sewing, or woodworking skills.
Is 3D printing safe for home use in online courses?
Yes, with ventilation and supervision. PLA emits minimal fumes, unlike ABS. Always follow manufacturer guidelines—we prioritize safety at Prntv.
How do I protect my 3D designs when sharing online?
Use Creative Commons licensing or watermark renders. For sensitive projects, review our Privacy Policy on handling user data.
Ready to prototype smarter?
The benefits of 3d printing for prototyping aren’t just theoretical—they’re practical, proven, and within reach. Don’t let fear of failure freeze your creativity. Print small, learn fast, and iterate boldly. And if you’re stuck? We’re here to help. Contact us for personalized guidance on bringing your next big idea to life—one layer at a time.