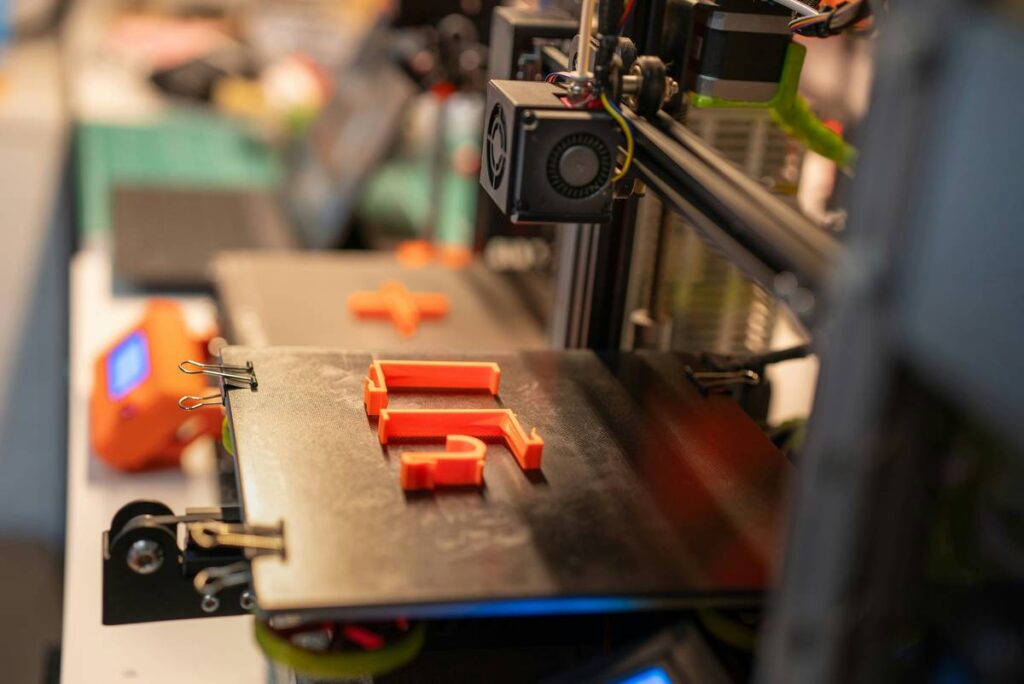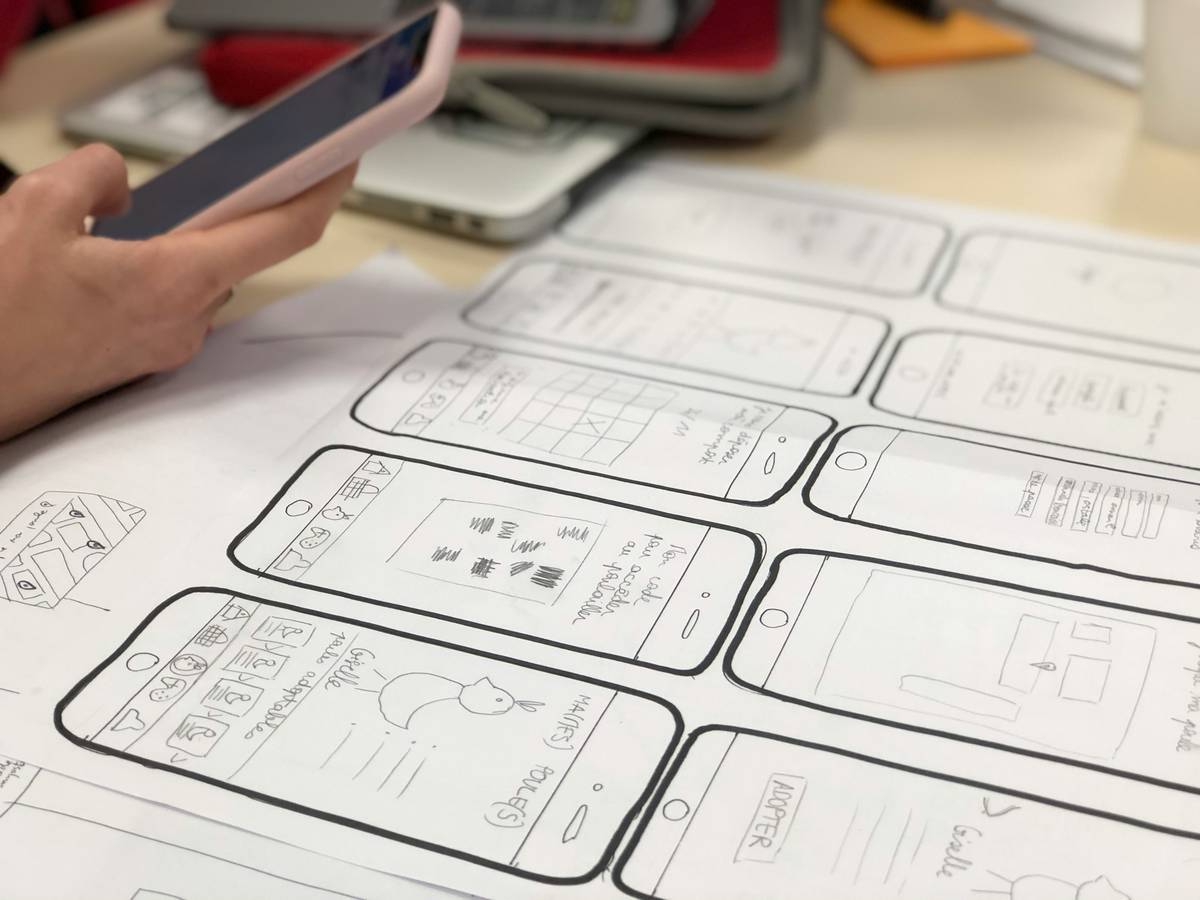
Most designers waste months—and thousands of dollars—on clunky, outdated prototyping methods that crumble under real-world stress. You mock up a concept, ship it off to a CNC shop, wait three weeks, and discover a fatal flaw too late. It’s frustrating, expensive, and kills momentum. But what if you could iterate your design overnight? 3d printing rapid prototype technology flips the script—turning weeks into hours and guesswork into data-driven refinement.
Why Traditional Rapid Prototyping Fails Creative Builders
Legacy rapid prototyping—think subtractive machining or vacuum casting—is built for mass production tolerances, not agile iteration. It demands upfront tooling costs, rigid material constraints, and engineering specs most indie creators don’t have. And worst of all? You’re locked in after the first cut. No tweaks. No second chances without restarting the clock—and the budget.
That rigidity crushes artistic experimentation. Remember: arts and crafts thrive on improvisation. Yet industrial workflows treat creativity like a compliance checklist.
How to Build a Validated Prototype in 72 Hours Using 3D Printing
Forget waiting. With the right workflow, you go from sketch to functional model faster than your coffee cools. Here’s how seasoned makers actually do it—not textbook theory, but field-tested steps.
Select Your Material Like a Sculptor, Not an Engineer
Don’t default to PLA just because it’s easy. Ask: Does your prototype need flexibility? Heat resistance? Transparency? TPU mimics rubber. PETG handles sunlight. Resins offer glass-like finishes. Match the material to the *behavior* you’re testing—not just geometry.
Optimize for Printability, Not Just Aesthetics
Overhangs beyond 45°? Thin walls under 1.2mm? You’ll get stringing, warping, or collapse. Use mesh repair tools like Meshmixer. Add chamfers. Hollow out non-critical sections to save time and filament. The goal isn’t perfection—it’s actionable feedback.
Validate Functionality, Not Just Form
Print a snap-fit joint? Test it 20 times. Design a latch? Subject it to stress cycles. A prototype that looks cool but breaks on first use is worse than useless—it’s misleading. Build test jigs into your print if needed.

| Prototyping Method | Avg. Lead Time | Cost per Unit (USD) | Ideal For |
|---|---|---|---|
| CNC Machining | 7–14 days | $120–$300 | Metal parts, high-tolerance engineering |
| Vacuum Casting | 10–21 days | $80–$200 | Small batches of urethane parts |
| 3D Printing Rapid Prototype Technology | 4–48 hours | $5–$40 | Iterative design, form/fit/function tests, custom crafts |

The Industry Secret: Fail Early, but Fail Intentionally
Here’s what no brochure tells you: The real power of 3d printing rapid prototype technology isn’t speed—it’s controlled failure. Top product studios deliberately engineer “break points” into early prints. They design weak seams or exaggerated tolerances to see *exactly* where their concept fails under load. Why? Because discovering a flaw during hour two beats finding it during customer trials. This isn’t about avoiding errors—it’s about weaponizing them for insight. Most hobbyists print hoping for perfection. Pros print hunting for flaws.
Frequently Asked Questions
Is 3D printing accurate enough for functional prototypes?
Yes—for most arts, crafts, and consumer product validations. Modern desktop printers achieve ±0.1mm accuracy. That’s sufficient for fit checks, ergonomic tests, and assembly verification. Save micron-level precision for final production.
What’s the cheapest way to start rapid prototyping at home?
A mid-tier FDM printer (like Creality Ender 3 V3) plus quality PLA filament. Total startup cost: under $300. Focus on mastering layer adhesion and support removal before upgrading.
Can I sell prototypes made via 3D printing?
Absolutely—if they meet safety and durability standards. Many Etsy crafters and indie brands use printed prototypes as limited-run products. Just disclose materials and limitations clearly.